Step to make Setup of Project in Visual Studio.
1.
From file menu new Project select Setup and Deployemnet
Step2 :
Right click on setup view File 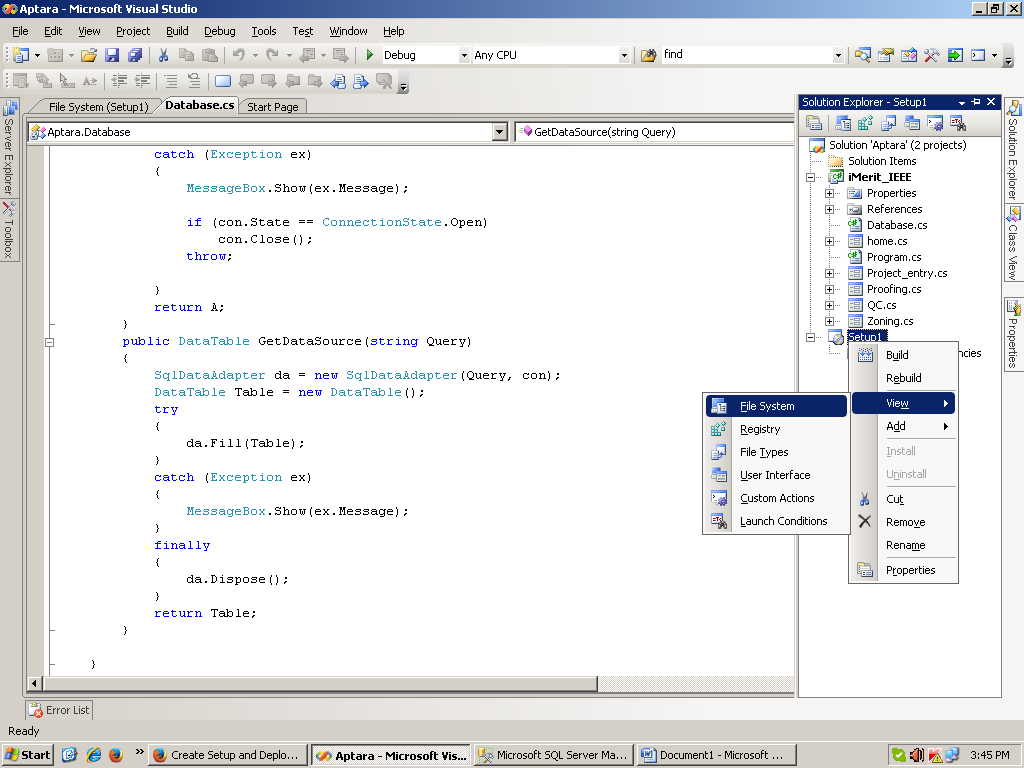
Step 3
Right click Application Folder Add project Output
Step 4 in Project Output you can add file or document file xml file 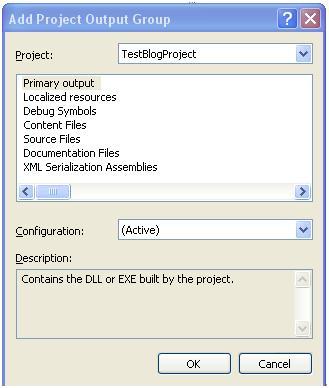
Click Ok
Merely add one or more of the files that is vital for your application by clicking on File…. Now that you have you files in place. Solution Explore /Setup /Detected Depences /primary Output
Step 5
Now to Create Shortcut
Right Click on primary Out Select first Option
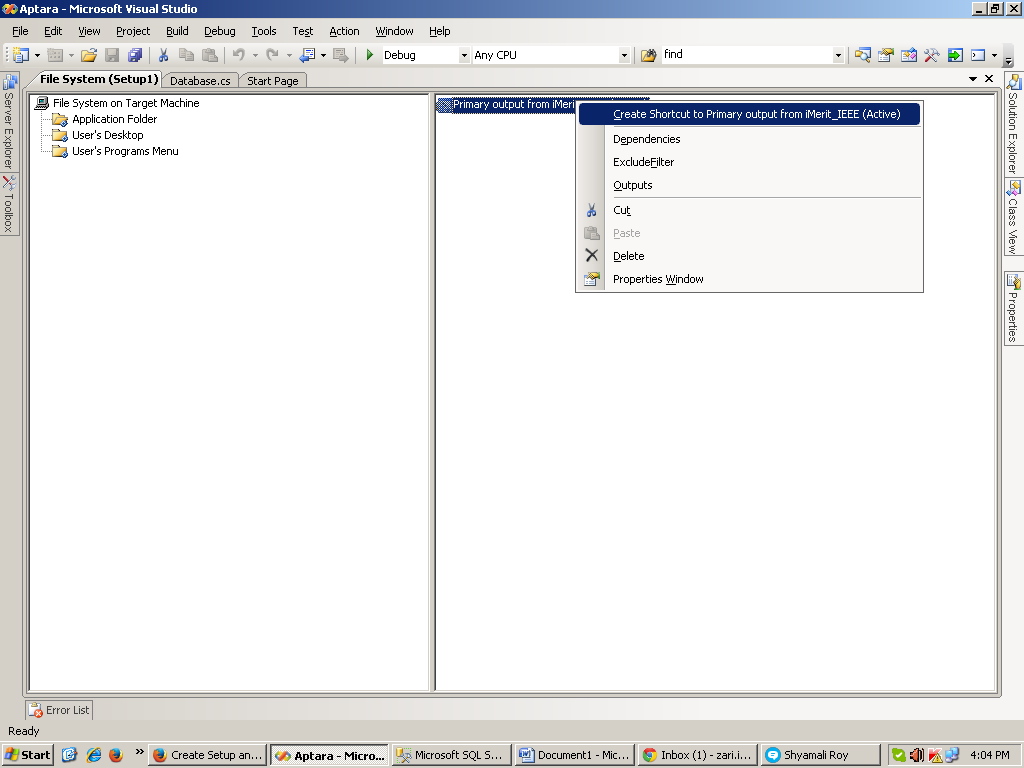
To Assign icon Select Shortcut which you create right Click Property Window
Select icon option browse icon select .ico file from you machine if you don’t have ico file then first create that file drag and drop Shortcut into users’s Dekstop Folder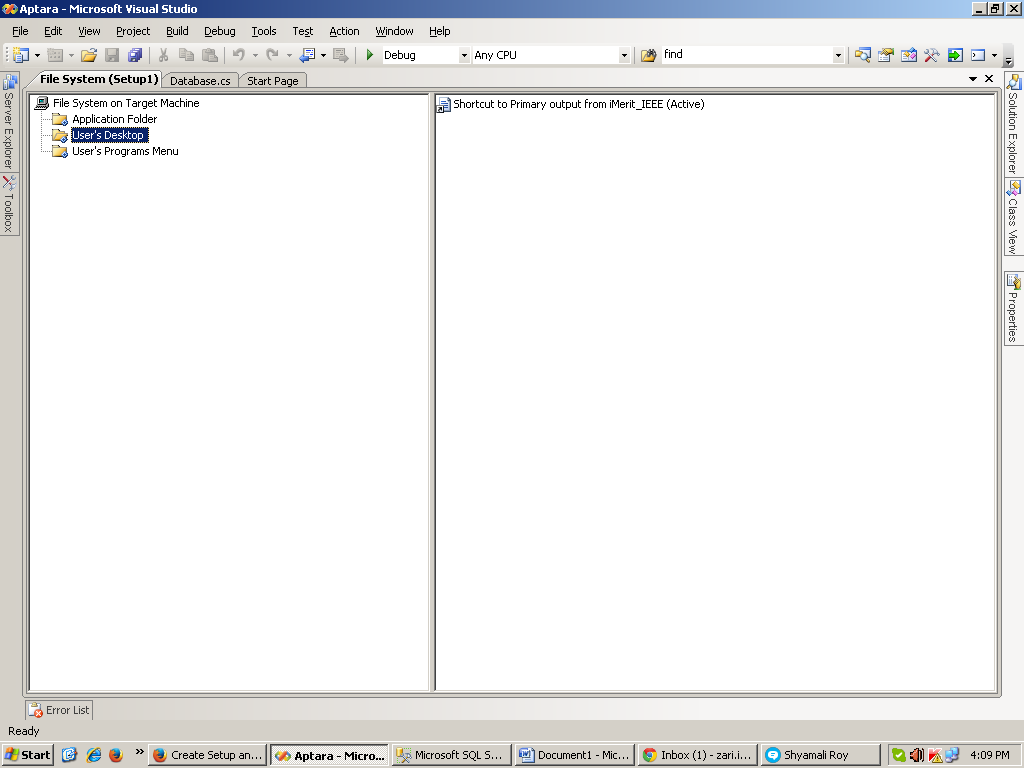
The next item you find of immense importance is the User Interface Editor. Inside of this editor you may eliminate or include dialogs that are needed for this install project.
Right Click Setup view user interface right click Add diolog
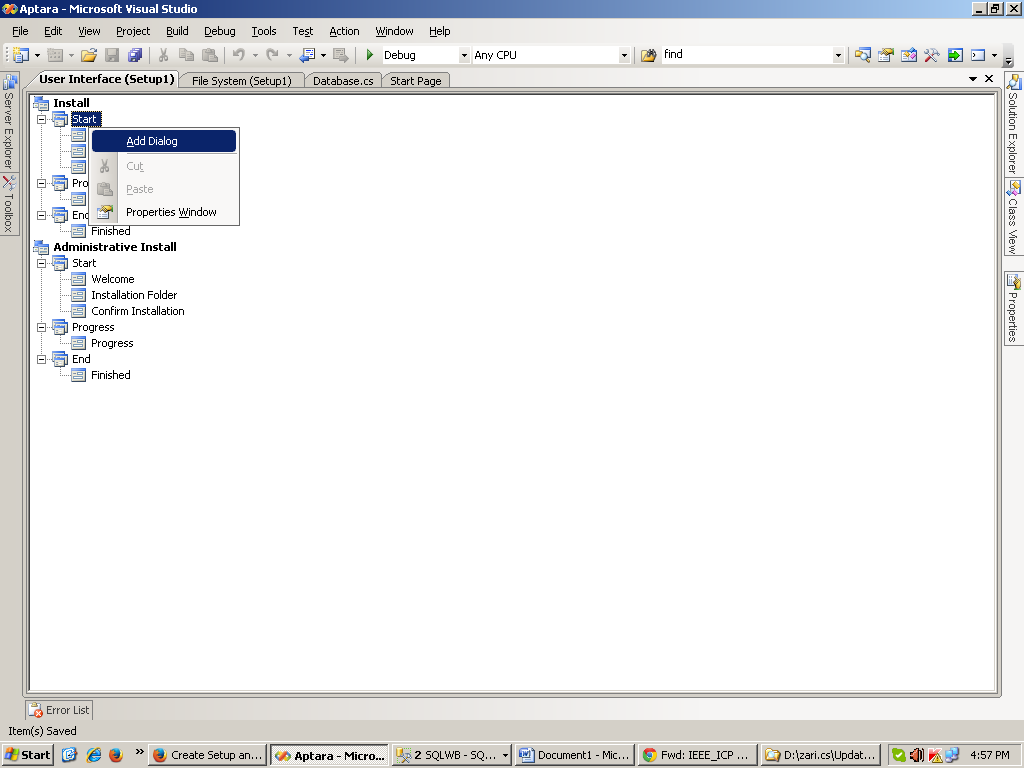
Then Select customer information ok

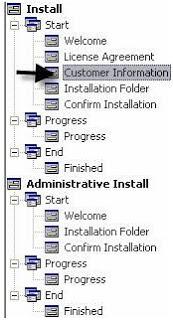
The following screenshot is the default User Interface that is created when I initially created this setup project The only variation is that I have added a Customer Information dialog.
Prerequisites Installation in Windows Installer
Most applications have prerequisites: Components such as the .NET Framework runtime must be available on a target computer in order for the application to run. The deployment tools in Visual Studio include the capability to automatically detect the existence of components during installation and install a predetermined set of prerequisites — a process known as bootstrapping.
Most applications have prerequisites: Components such as the .NET Framework runtime must be available on a target computer in order for the application to run. The deployment tools in Visual Studio include the capability to automatically detect the existence of components during installation and install a predetermined set of prerequisites — a process known as bootstrapping.
To choose which prerequisites to install
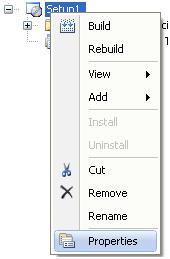
- In Solution Explorer, select the deployment project and Right Click
- Click Properties.
- In the Property Pages dialog box, expand the Configuration Properties node, and then select the Build property page.
- Click the Prerequisites button.
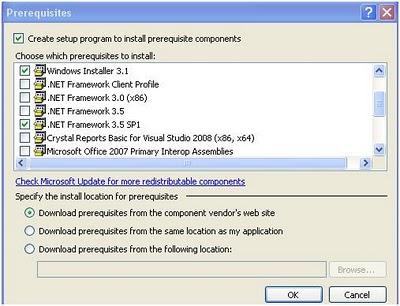
- In the Prerequisites dialog box, make sure that the Create setup program to install prerequisite components box is checked.
- In the Choose which prerequisites to install list, check the prerequisites that you wish to install, and then click OK.
To specify the download location for prerequisites
- In Solution Explorer, select the deployment project, right click.
- Click Properties.
- In the Property Pages dialog box, expand the Configuration Properties node, and then select the Build property page.
- Click the Prerequisites button.
In the Prerequisites dialog box, choose a location:
- If you want to deploy the installers for the prerequisites to a vendor, click Download prerequisites from the component vendor's web site.
- If you want to deploy the installers for the prerequisites to the same location as your application installer, click Download prerequisites from the same location as my application.
- If you want to deploy the installers for the prerequisites to a different location, click Download
- Click OK to continue.
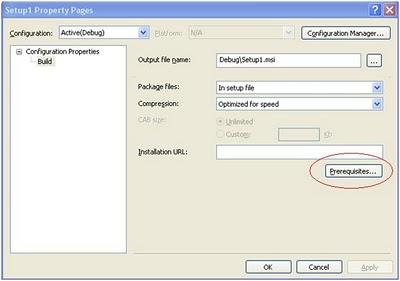
Out put File name This will indicate where your setup or Exe file will build…..
Final : Now Build the Setup
No comments:
Post a Comment